BLOG
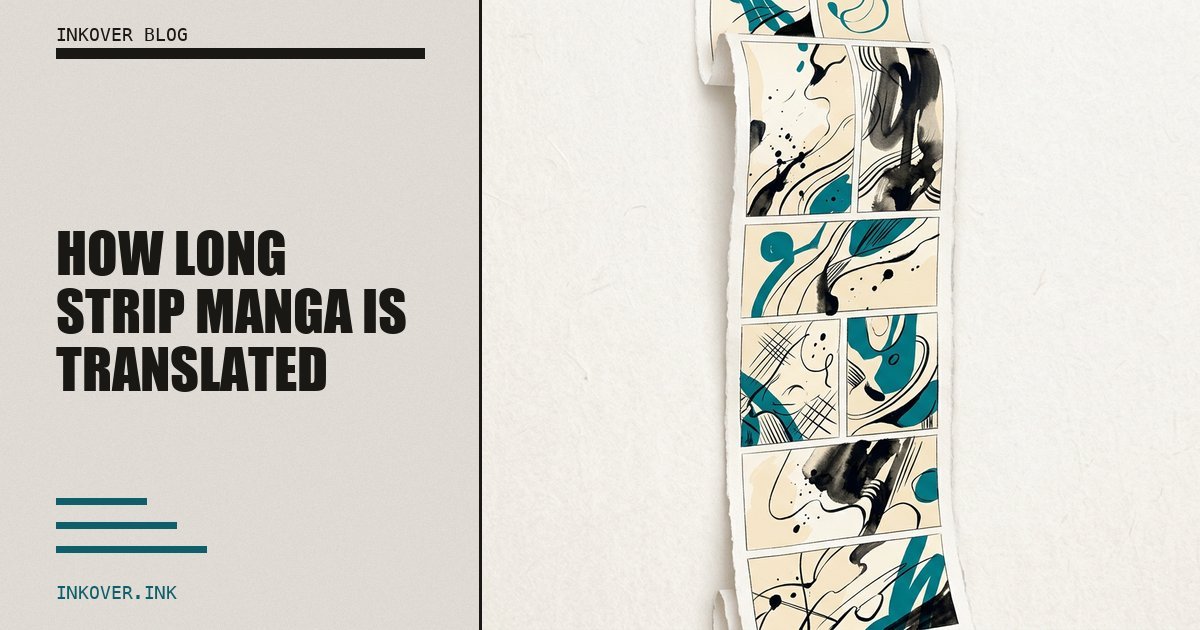
How Long Strip Manga Is Translated
The Problem No One Talks About
You download a manhwa chapter. 40 images, each a tall vertical strip. You open your translation tool and start processing. Page 17 — a speech bubble is sliced clean in half. Page 23 — a sound effect sits right on the boundary, half on one image, half on the next. Page 31 — a character's face is split between two tiles, and the AI redraws each half differently.
The translation looks like it was run through a paper shredder.
This isn't a rare edge case. It happens every time a page-based tool meets a scroll-based format. Webtoons and manhwa are designed as one continuous vertical strip — a format worth $14.4 billion and growing at 33% annually — — readers scroll through them seamlessly, with scenes flowing across what would be arbitrary page breaks. When you force this format into a page-by-page workflow, things break.
What Other Tools Do (And Why It Breaks)
There are three common approaches to translating long strips. None of them work well.
Manual workflow (Photoshop/GIMP). You open each image, manually identify where to cut, stitch pages together, split again, translate each piece, reassemble. It works — if you have 2–4 hours per chapter and perfect attention to detail. One misaligned stitch and you're starting over.
Naive auto-crop tools. These chop the strip into equal-height segments — say, every 1500 pixels. Fast, but completely content-blind. A cut at pixel 1500 doesn't care that there's a speech bubble there. Panels get sliced, dialogue gets split, context is destroyed.
Standard page-based translators. They treat each uploaded image as an independent unit. No strip assembly, no awareness of what's on the previous or next image. Works fine for traditional manga. Fails completely for manhwa, where a single scene can span three "pages."
| Manual (Photoshop) | Auto-crop tools | Page-based translators | Inkover | |
|---|---|---|---|---|
| Splitting method | Manual | Fixed height | Per-uploaded-image | Content-aware segmentation |
| Context preservation | Depends on skill | None | None | Full |
| Time per chapter | 2–4 hours | Minutes | Minutes | Minutes |
| Panel cutting risk | Low (manual control) | High | Very high | None |
| Seamless output | If done well | Never | Never | Always |
Inkover solves this by treating the strip as a strip — not by pretending it's a set of pages. Here's how, in 6 stages.
Stage 1: Auto-Detection
When you add a manga chapter, Inkover automatically detects whether it's a standard page-based format or a vertical long strip. The detection analyzes the aspect ratio of uploaded pages — tall, narrow images trigger the long strip pipeline.
No configuration needed. No manual toggles. No format dropdown to hunt for. The system recognizes the format and routes it to the correct pipeline on its own.
Stage 2: Strip Assembly
All chapter pages are stitched vertically into a single continuous image — the strip. Page widths are normalized to create a seamless ribbon, eliminating visual artifacts at the seams.
This is the key insight that makes everything else work: by assembling the strip first, we can cut by content, not by arbitrary page boundaries. That speech bubble that was split across pages 17 and 18? It's now one intact bubble in the middle of a continuous strip.
Stage 3: Smart Segmentation
The assembled strip is scanned for natural horizontal dividers — uniform bands between manga panels where there's no content. These are the natural "breathing spaces" in the artwork, the gaps between scenes.
The system cuts the strip into tiles along these dividers. Each tile becomes a complete visual fragment containing one or more panels — a self-contained unit that's ideal for translation.
The segmentation is content-aware:
- Small fragments are merged with their neighbors to avoid orphaned panels
- Oversized blocks are carefully split at secondary dividers
- Each resulting tile contains a complete scene — never a half-cut bubble
This is the core difference from auto-crop tools. They cut by pixels. Inkover cuts by content.
Stage 4: Text Recognition
Each tile is analyzed by AI. All text elements are detected — dialogue in speech bubbles, sound effects (SFX), captions, and narration blocks. For each text block, the system determines its type, position, and translation.
Because tiles contain coherent scenes (not arbitrary crops), the AI has better context for translation. A joke that spans two panels is in the same tile. A character's response is next to the line it responds to. This context improves translation quality noticeably.
You have full editorial control at this stage. Review every detected text block, edit translations, change block types, or mark blocks for deletion before proceeding to generation.
Here's what the pre-analysis interface looks like — every text block detected, typed, and ready for review:
Stage 5: AI Redraw
The AI receives the original tile and a list of text replacements. It removes the source text and writes the translation directly into the image — preserving the art style, backgrounds, and visual effects.
This is not a text overlay. Not a white rectangle with new text pasted on top. The AI regenerates the region around each text block, matching the original artistic style — brush strokes, gradients, textures, everything. The result is indistinguishable from a natively published translation.
The Translation Studio shows you the original, detected text blocks, and the generated result side by side:
Stage 6: Review & Edit
In Translation Studio, the original and translated strips are displayed side by side in a continuous comparison view. You can scroll through both versions simultaneously and spot any issues at a glance.
Here's the actual strip comparison view — original on the left, translation on the right, scrolling in sync:
If a tile isn't right, you have three options:
- Manual edit: Open the canvas editor (brush, eraser, text overlay, eyedropper) for pixel-level corrections. Manual edits are free — they don't cost tokens.
- Regenerate: Re-run the AI on the same tile with the same or modified text blocks.
- Re-tile: Reassemble and re-segment the entire chapter with different parameters if the segmentation itself needs adjustment.
The canvas editor gives you full control over every pixel:
This is an iterative process. You keep refining until every tile is perfect.
The Result
Remember the sliced speech bubbles? The split sound effects? The face redrawn differently on each half?
After these 6 stages, none of that happens. Every bubble is intact. Every SFX is integrated into the artwork. Every scene flows exactly as the artist intended. The long strip format is preserved — readers scroll through the translation just as smoothly as the original.
What you get is indistinguishable from a natively published translation. Not because the problems were hidden, but because they never occurred in the first place.
Related reading:
- The $14 Billion Scroll: Why Webtoons Are Harder to Translate — the market forces behind the webtoon explosion
- How to Translate Manga: The Complete Guide for 2026 — the full walkthrough for standard and long strip formats
- Best AI Manga Translation Tools Compared (2026) — how Inkover stacks up against the competition
The full journey in one line
After tiling, each fragment is translated exactly like a standard manga page